
A load-bearing wall opened without support, insulation installed before addressing a moisture issue, flooring glued onto a still damp slab: most domestic projects that go wrong share the same flaw. Renovation work has begun without checking a technical constraint beforehand. Before discussing inspiration or decoration, this sequencing logic must be established.
Sequencing a renovation project to avoid rework
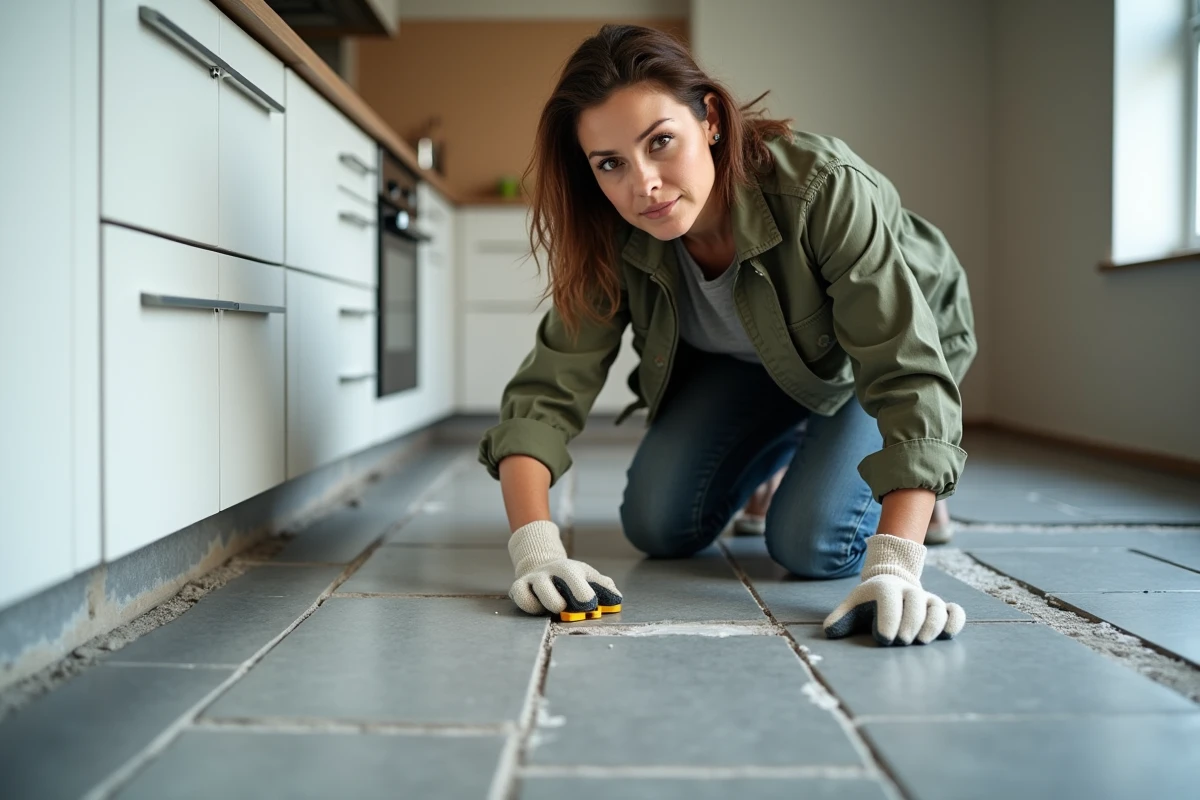
In a renovation project, the order of interventions determines the quality of the result. Insulating attics without first checking the state of ventilation creates a risk of condensation that degrades the insulation within a few seasons. Installing a floor covering before the screed has finished drying causes delaminations.
Related reading : Everything You Need to Know to Start Investing in the Stock Market: Essential Financial Tips and News
Feedback from experience on specialized platforms confirms an increase in claims related to poorly sequenced partial renovations. Insurers are increasingly requiring a precise declaration of DIY work done to maintain home insurance coverage. Therefore, it is in our best interest to formalize a schedule, even if it’s just a rough one.
The basic rule: work from the structural work to the finish, from top to bottom, from dirty to clean. Demolition, then structure, then networks (electricity, plumbing), then insulation, then partitioning, then coverings. Each step must be completed before moving on to the next. To delve deeper into each task and find practical sheets by type of intervention, one can consult the work on Oh Brico which details methods by trade.
You may also like : Tips and Inspiration for a Creative, Fulfilling, and Meaningful Life
Energy renovation: planning coherent actions rather than isolated works
For several years, public aids for energy renovation (MaPrimeRénov’, energy savings certificates, community programs) have pushed towards a logic of global pathways rather than isolated actions. It is no longer easy to finance the replacement of a boiler if the building envelope has not been addressed.
For a DIY enthusiast wanting to renovate their home, this changes the strategy. Installing interior wall insulation oneself may qualify for certain programs, provided the minimum performance requirements are met and the installation is validated. Feedback on this point varies by region and operators.
Three common mistakes on an insulation project
- Insulating walls without installing or checking the ventilation system: trapped humid air leads to mold within a few months. Ventilation should be addressed before or simultaneously with insulation, not afterward.
- Choosing an insulator solely based on its price per square meter without checking its actual thermal resistance: a cheap but undersized material does not meet the threshold required for aids.
- Neglecting the treatment of thermal bridges (lintels, window frames, wall-floor junctions): even a well-insulated wall loses a significant part of its performance if these points are not treated.
Safety and protective equipment for DIY at home
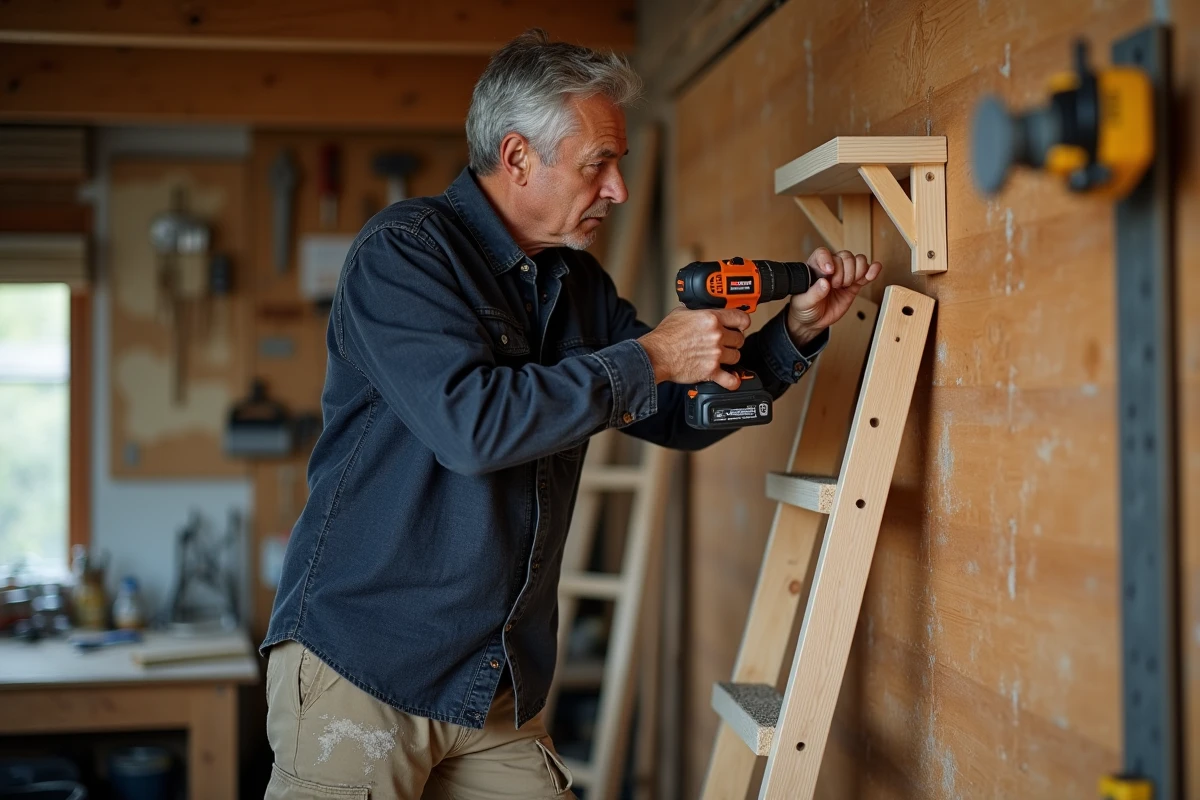
Prevention organizations like INRS and OPPBTP report an increase in DIY accidents related to battery-powered tools. Drills, grinders, jigsaws: these tools have become more accessible and powerful, but they are often used without the appropriate protections.
The PPE prescribed for professionals also applies to DIY enthusiasts. It’s not a matter of skill level; it’s a matter of physics: a grinder projects particles at the same speed regardless of whether the user is a professional or an amateur.
- Protective glasses for every cutting, drilling, or sanding task, including on softwood.
- Hearing protection as soon as using a tool whose noise prevents normal conversation (circular saw, hammer drill, router).
- A mask suitable for fine dust for sanding, cutting plasterboard, or stripping. A surgical mask does not filter silica particles.
- Cut-resistant gloves for handling sheet metal, glass, or sharp-edged composite materials.
We also underestimate the importance of a clear workspace. Most falls on domestic projects come from a cluttered floor or an unstable workbench.
Renting semi-professional equipment: when renting makes a difference
Major DIY retailers and specialized rental companies have observed a significant increase in the rental of semi-professional equipment: floor sanders, airless paint stations, heat guns, construction dehumidifiers. This market reflects a change in approach.
Buying a floor sander for one-time use makes no economic sense. Renting it for a weekend allows access to a result that no consumer-grade orbital sander can produce. The gain is measured as much in time as in finishing quality.
What to check before renting
At the time of pickup, test the tool on-site if the rental company allows it. Check the condition of the provided consumables (discs, nozzles, filters). Request the user manual, even if you think you know the machine: settings vary from model to model.
A often overlooked point: preparing the site before renting. When renting by the day, every hour spent moving furniture or protecting surfaces is an hour of rental lost. Prepare the room the day before, protect baseboards and thresholds, and clear all furniture.
Decoration and finishes: choices that stand the test of time
The decoration of a renovated space deserves the same rigor as the structural work. A decorative coating applied to a poorly prepared surface will crack. A high-end paint applied without an appropriate primer for the surface will not hold its finish.
For wall coverings, the choice of material depends on the room. In humid areas (bathroom, laundry room), tiles or waterproof coatings remain the most durable solution. So-called “special humid room” paints offer decent resistance but require more frequent renewal.
On wood (decking, cladding, garden landscaping), the finish determines the lifespan. A saturator penetrates the fiber and renews easily. A varnish creates a surface film that, once degraded, requires sanding before re-treatment. Choosing the finish based on the maintenance you are willing to undertake avoids unpleasant surprises in the medium term.
A successful renovation and DIY project relies less on inspiration than on method: the correct order of interventions, appropriate protections, equipment sized for the project, and finishes chosen to last. The rest is practice.